Low Power Image Acquisition
Application Introduction
This project demonstrates an example implementation of a low-power image acquisition camera based on NE101 hardware features. The software engineering implements application logic supporting low-power working modes, communication management, MQTT management, data transmission, and more, suitable for use in image acquisition scenarios. Based on this project, developers can combine sensor data collection for acquisition decisions or integrate local AI algorithms for richer application extensions.
Key Features
- Ultra-low power design, supporting long-term battery-powered operation
- Flexible wake-up mechanisms, supporting both timing and sensor triggers
- Complete image acquisition and data transmission process
- Open extension interfaces, supporting AI and sensor function extensions
- For sensor extension, see "PIR Example"
- For AI extension, see "Face Recognition Example"
Program Logic
Software Resources
-
Pre-compiled Firmware:
- Example firmware: lowpower_camera bin
-
Source Code Development:
- Latest Visual Studio Code (1.99.2 or above)
- ESP-IDF plugin (v5.1.6 version)
- Example code repository lowpower_camera
Using Pre-compiled Firmware Update
-
Device Connection
Complete hardware connection guide: Hardware Connection Guide
-
Device Flashing
For flashing instructions, refer to: System Flashing
Using Source Code Development
-
Get Source Code
git clone https://github.com/camthink-ai/lowpower_camera.git -
Open Project
Open the project directory with VS Code

-
Build
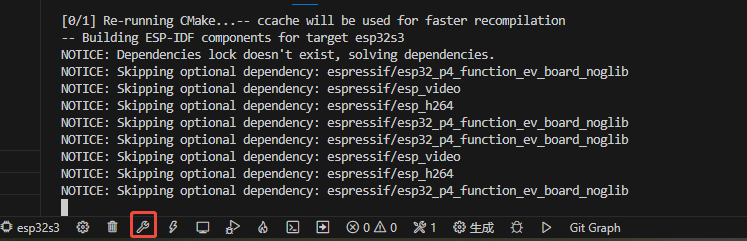
-
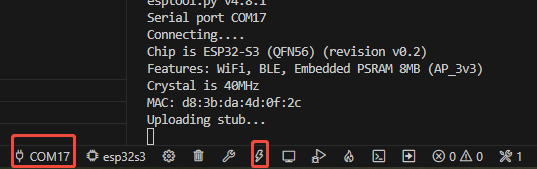
Flash
Software Description
This section introduces the software function modules in the project, including image adjustment, capture settings, data reporting, and other core functions. Through the configuration and use of these function modules, a complete low-power image acquisition application process can be implemented.
Software Functions
The software functions include the following main parts:
- Image adjustment: For controlling image parameters such as brightness, contrast, saturation
- Capture settings: Supporting multiple capture modes including timed capture and alarm-triggered capture
- Data reporting: Uploading image data to the server via MQTT protocol
- Device maintenance: Providing device management and maintenance functions
The following will detail the specific parameters and usage methods of each function module.
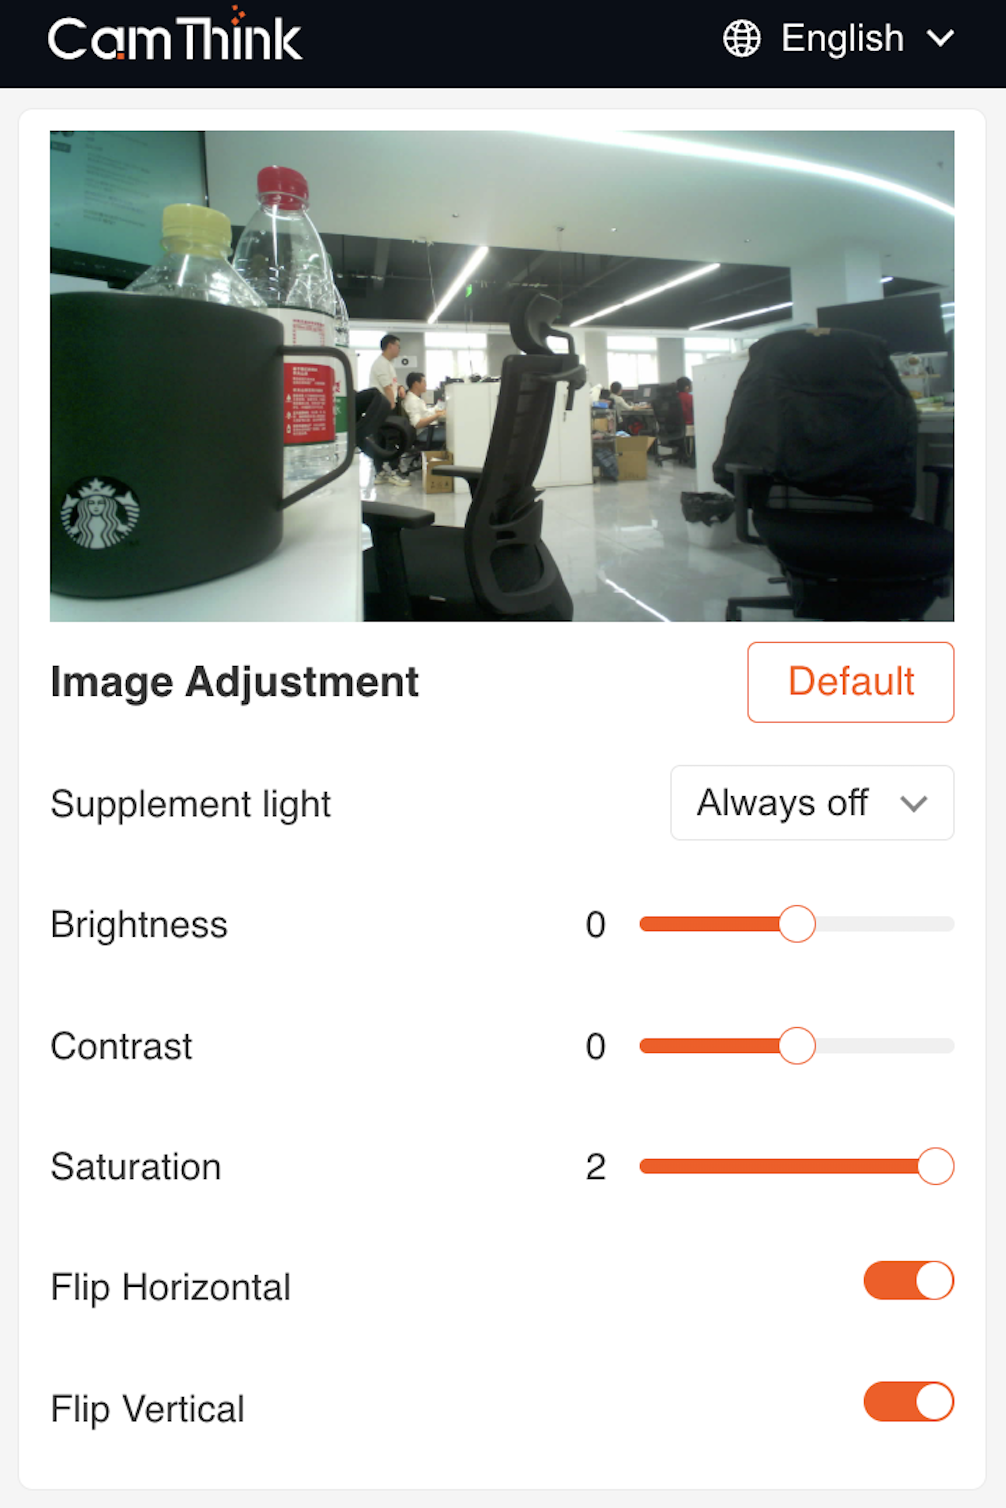
Image Adjustment
- Supplement Light
- Option:
Always off
- Option:
- Brightness
- Adjustable range: Slider control (Current value: 0)
- Contrast
- Adjustable range: Slider control (Current value: 0)
- Saturation
- Adjustable range: Slider control (Current value: 2)
- Flip Horizontal
- Switch status: Enabled
- Flip Vertical
- Switch status: Enabled
- Default Button
- Function: Reset image parameters to default values
- Function: Reset image parameters to default values
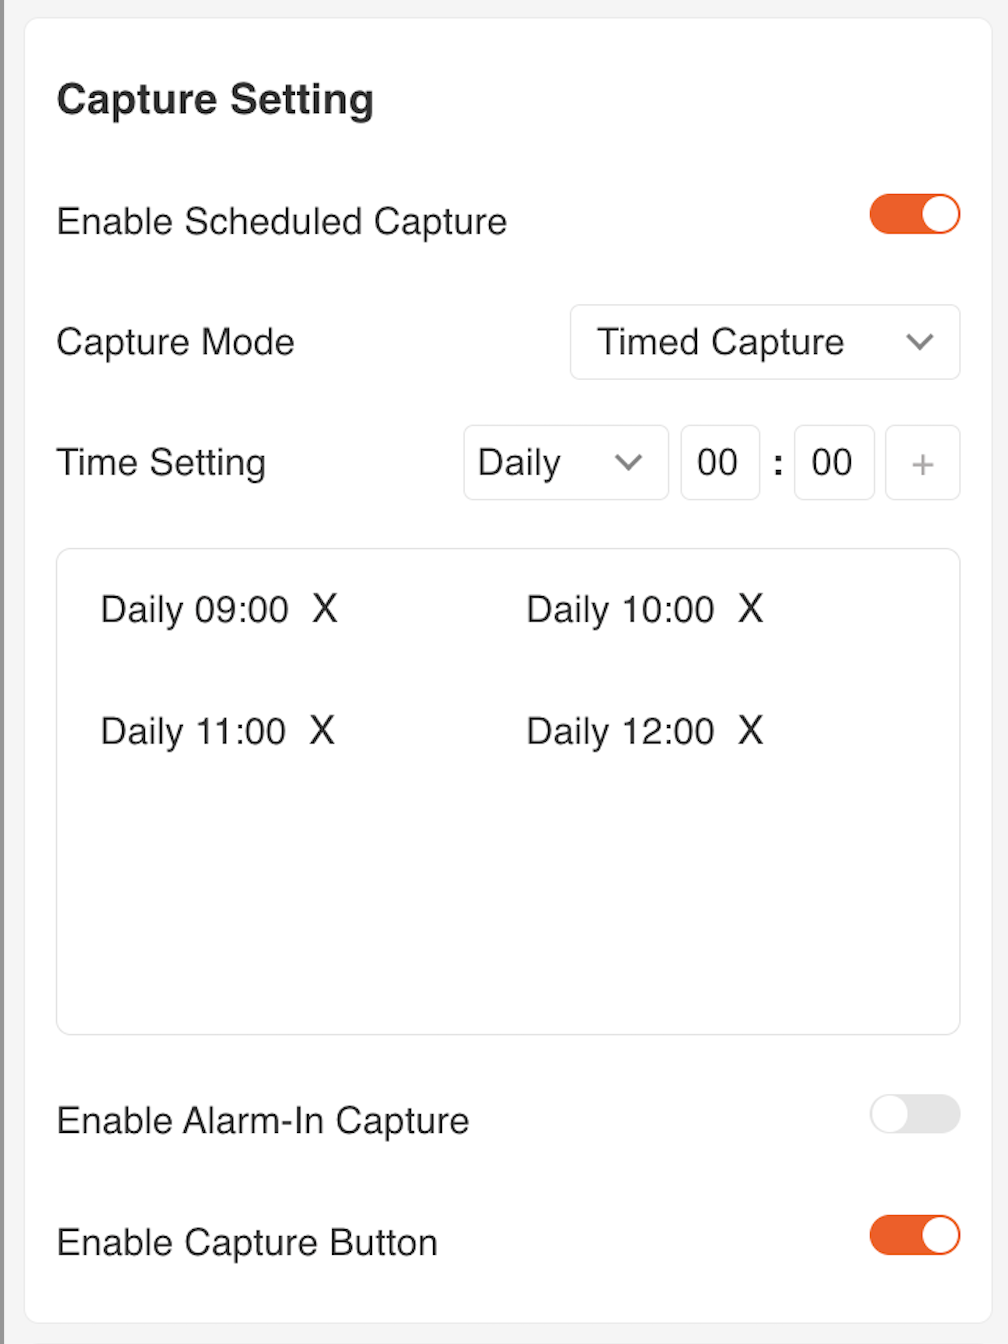
Capture Setting
- Enable Scheduled Capture
- Switch status: Enabled
- Capture Mode
- Current setting:
Timed Capture
- Current setting:
- Time Setting
- Capture times:
- Daily 09:00
- Daily 10:00
- Daily 11:00
- Daily 12:00
- Capture times:
- Enable Alarm-In Capture
- Switch status: Disabled
- Enable Capture Button
- Switch status: Enabled
- Switch status: Enabled
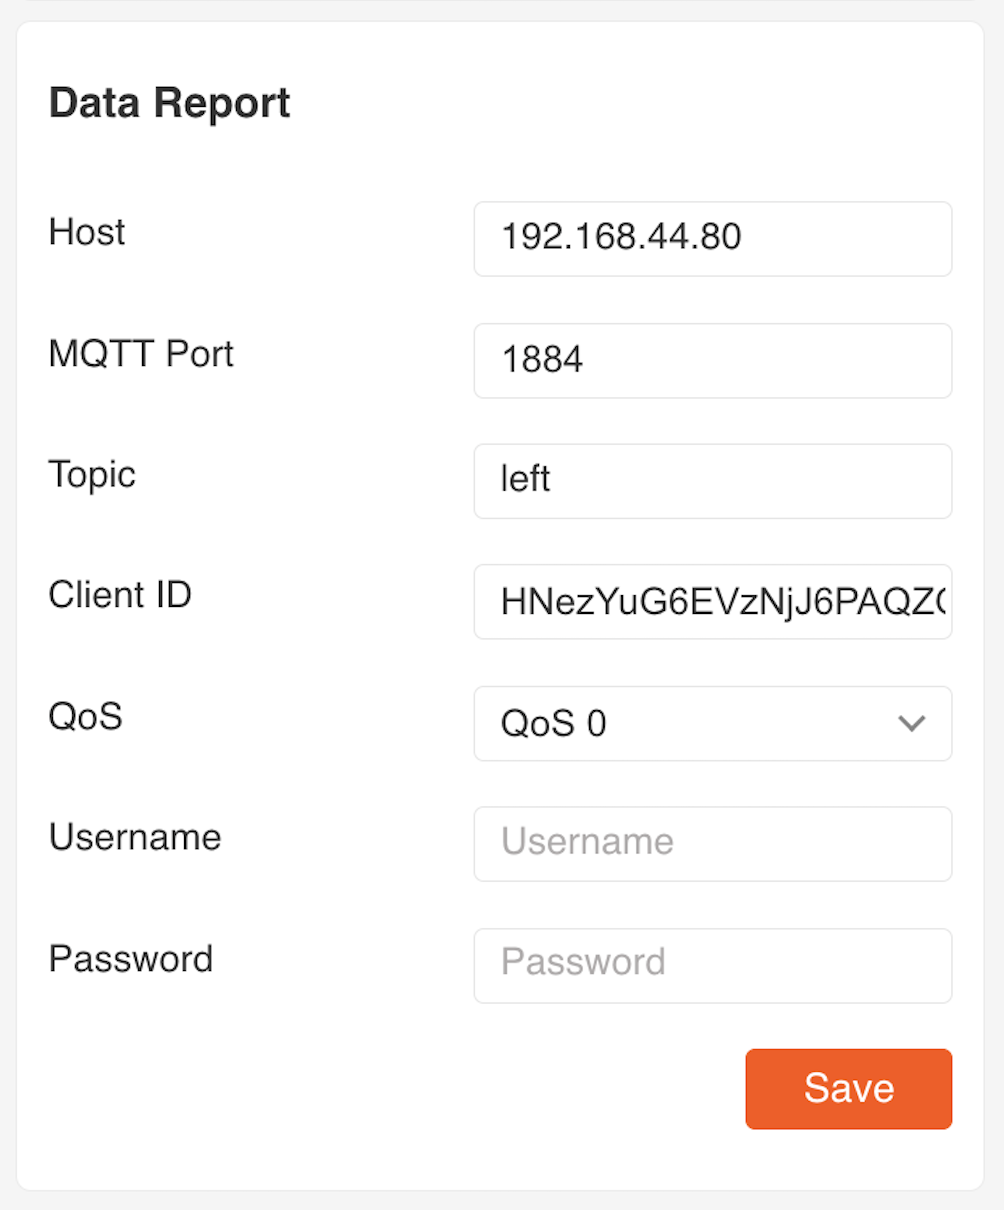
Data Report
- Host:
192.168.44.80 - MQTT Port:
1884 - Topic:
left - Client ID:
HNezYuG6EVzNjJ6PAQZ0 - QoS:
QoS 0 - Username / Password: Empty
- Save Button
- Save data reporting related configuration
- Save data reporting related configuration
Device Maintenance
- Device Name:
NE101 Sensing Camera 01 - MAC Address:
D8:3B:DA:4E:10:88 - Battery:
100% - Hardware Version:
V1.0 - Firmware Version:
NE_101.1.0.1 - Upgrade Firmware
- Upgrade through local firmware file upload
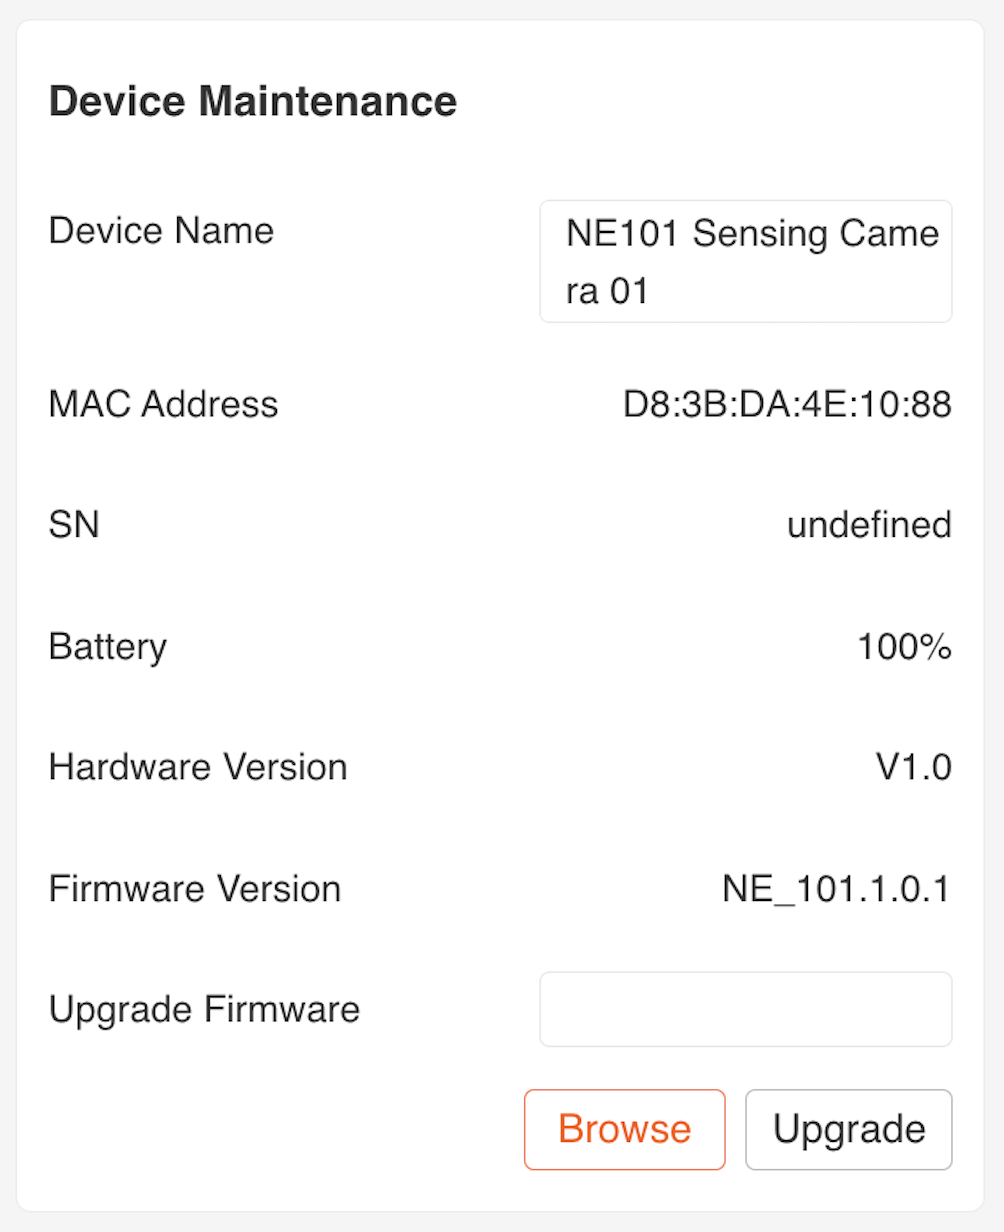
- Upgrade through local firmware file upload
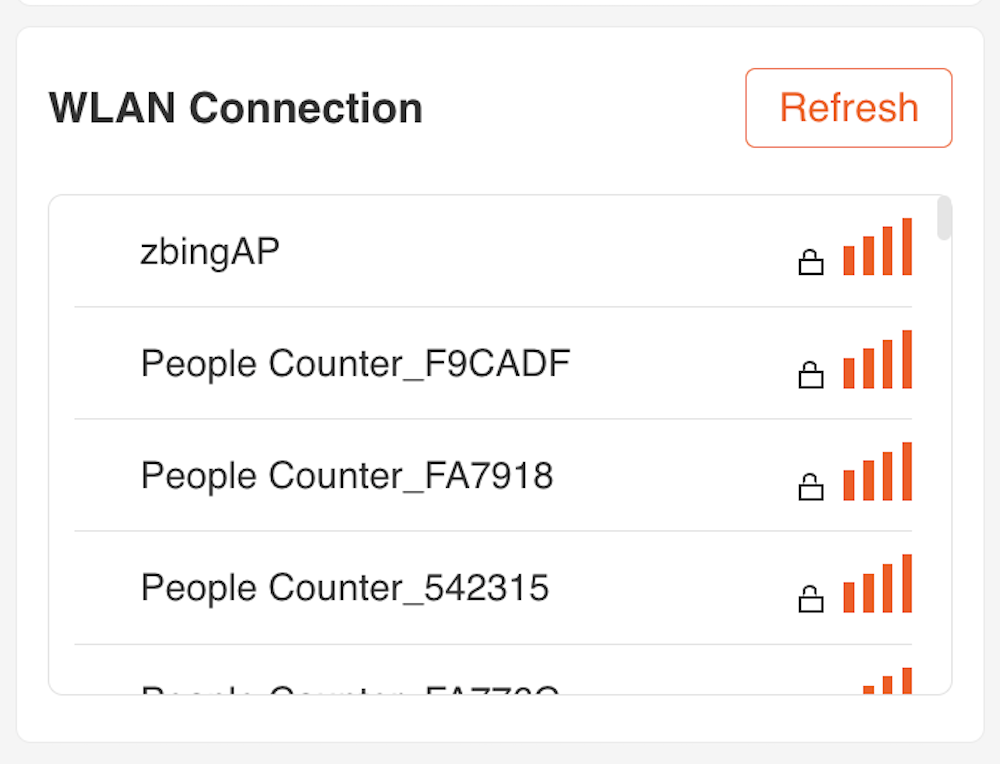
Connection
- Supported Network Types
- Wi-Fi: Supports 2.4GHz/5GHz dual-band connection
- WiFi HaLow: Supports 868MHz/915MHz long-range connection
- Cat.1: Supports global cellular network connection
- Network Configuration Features
- Wi-Fi network list display
- Signal strength indicator (RSSI)
- Encryption type display (WPA/WPA2/WPA3)
- Real-time connection status update
- WiFi HaLow specific configuration
- Region selection (Europe/North America)
- Automatic frequency band adaptation
- Cat.1 cellular network settings
- APN configuration
- SIM card status display
- Wi-Fi network list display
- Network Management
- One-click refresh: Quick scan for available networks
- Auto reconnect: Automatic recovery after network interruption
Sleep Mode
- Sleep Mode Button
- Function: One-click switch device to low-power sleep state
Software Usage Instructions
For software usage instructions, see Quick Start
Application Instructions
The NE101's characteristic as a low-power image acquisition device is its strong lifecycle for image capture. Below explains how to use and apply the data collected by the device with a simple example.
Receiving MQTT Data with MQTTX
To verify if the device's data reporting function is working properly, you can use an MQTT client tool (such as MQTTX) for data reception testing.
Step-by-Step Instructions
Ensure that the MQTTX server and NE101 are in the same network environment
- Open MQTTX, click
New Connection. - Set the following connection parameters:
- Host:
192.168.44.80 - Port:
1884 - Client ID: Any string, e.g.,
mqttx-client-01 - Topic:
left - Username / Password: Empty
- Host:
- After connecting, subscribe to Topic
left. - When the device captures image data, it will publish messages to this Topic via MQTT.
Data Format Description
The MQTT message payload sent by the device is in JSON format, as shown below:
{
  "ts": 1740640441620,
  "values": {
    "devName": "NE101 Sensing Camera",
    "devMac": "D8:3B:DA:4D:10:2C",
    "battery": 84,
    "snapType": "Button",
    "localtime": "2025-02-27 15:14:01",
    "imageSize": 74371,
    "image": "data:image/jpeg;base64,..."
  }
}
Field Descriptions
ts: Timestamp (milliseconds)devName: Device namedevMac: Device MAC addressbattery: Battery level (percentage)snapType: Image capture type (e.g.,Button,Scheduled,PIR, etc.)localtime: Local time (string format)imageSize: Image size (in bytes)image: Base64 encoded JPEG image data, prefixed withdata:image/jpeg;base64,
Visualization Suggestions
Use Base64 image data for quick preview in web pages or tools:
<img src="data:image/jpeg;base64,...">
You can also paste the Base64 data into Base64 Image Viewer for online preview.